Thursday, 26 October 2017

Playing the Beanball - DMZ Style


A Chain Of Command - DMZ After Action Report


Continuing on from previous posts this After Action Report is based on the Too Fat Lardies Charlie Don't Surf Scenario (CDS) Playing the Beanball.


As the CDS Scenario is for Company Level some changes were made in order to bring it down a notch to fit into a Platoon level game.

The CDS Scenario involves a U.S force evacuating a village that is attacked by VC.  We focused the scenario on a U.S platoon securing a section of the landing/evacuation zone that is attacked by an NVA force.  The following Chain of Command Scenario Four was used to reflect the circumstances with the U.S defending and the NVA attacking.  


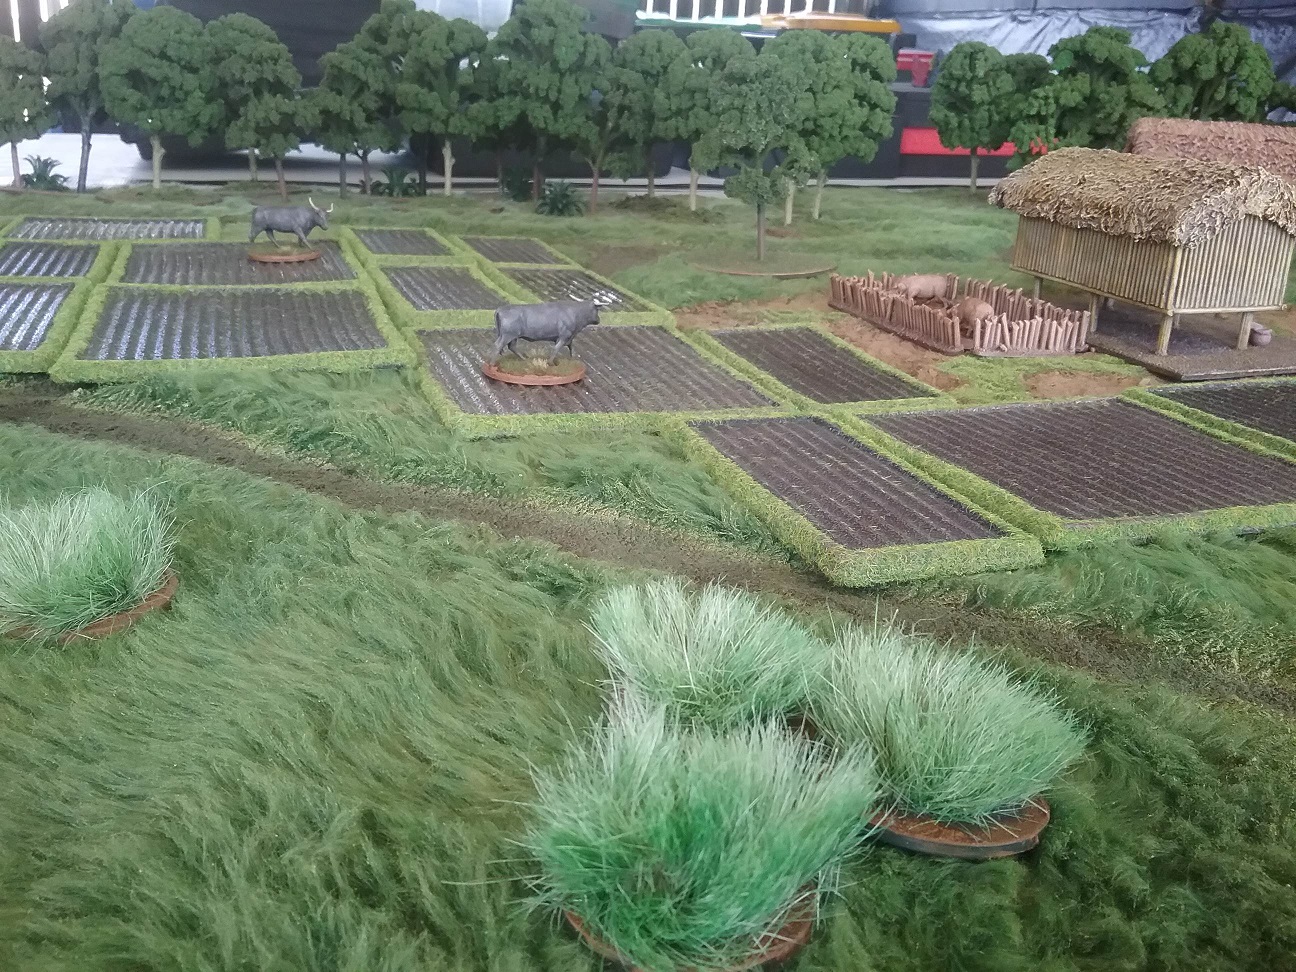
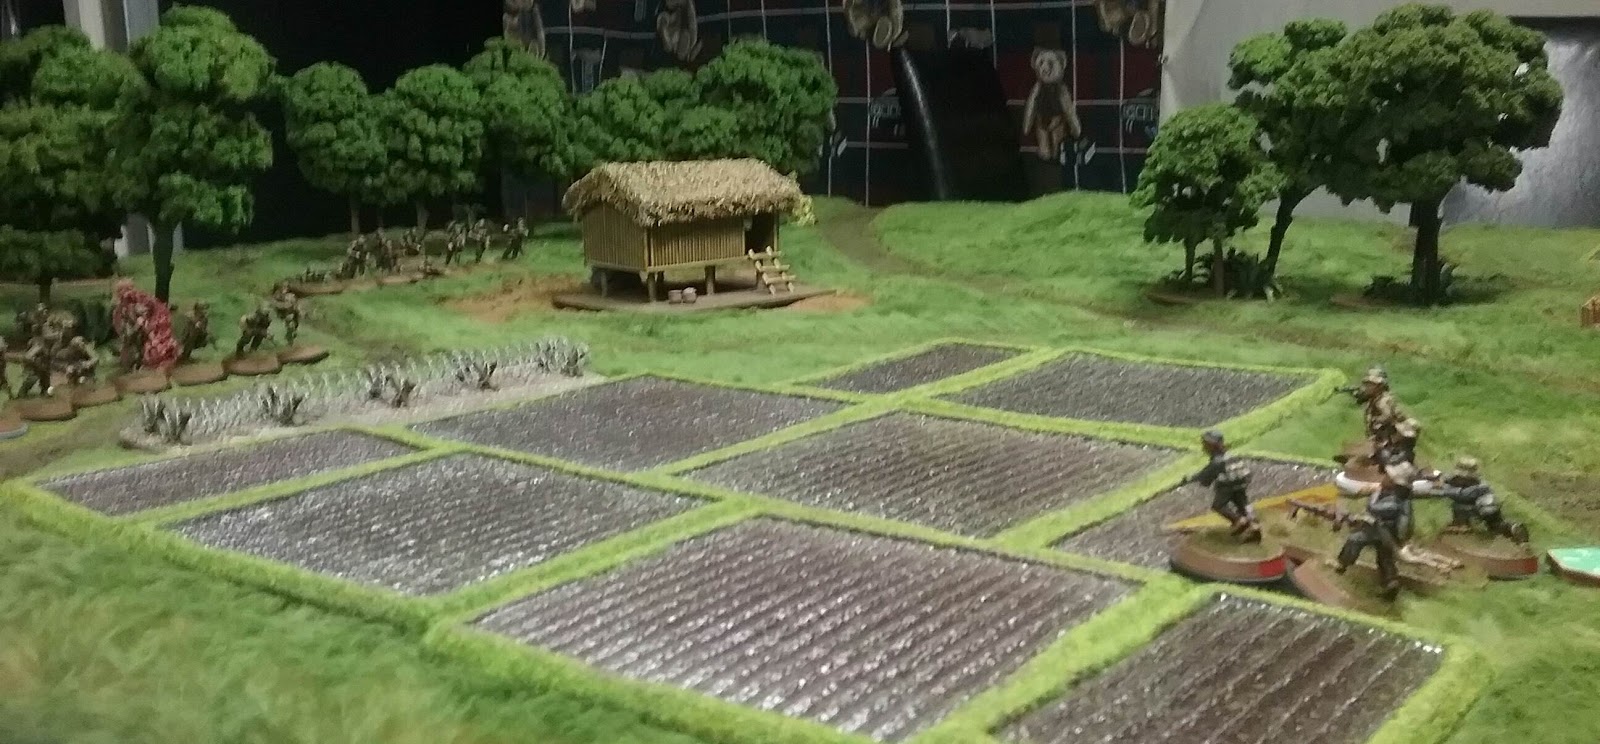
Terrain was roughly based on Playing the Beanball.
The Chain of Command - DMZ additional objectives were also used as they add another dimension to the game and better reflect alternative victories.

Additional CoC-DMZ Victory Conditions
Free World Forces
Free World Forces may achieve an alternative Victory at the end of any phase/turn in which they currently have control of or have captured a total of at least 2 enemy Jump off Points and their current morale level is 4+.
They can also win scenarios under normal victory conditions.

NVA/VC
NVA and VC Forces may achieve an alternative Victory by reducing a Free World Forces Morale to 3 or Less and withdrawing all on table units from the table whilst their final morale remains above 0.
This victory condition fits in well with the CDS "Three Strongs Attack" objective.
They can also win scenarios under normal victory conditions.

Withdrawing from the Table
In order to retire from the field a NVA/VC unit may leave via a friendly jump off point or any table edge provided no enemy units are within 12 inches and line of sight to the unit at the start of it's move.
Each unit leaving the game this way via a JOP or table edge will not return and will roll with the risk of dispersing on a 5+ if from a friendly JOP or 4+ if from any table edge.
If a unit disperses a roll is made against section wiped out on the morale table and immediately effects the players morale.
Snipers and immobile teams may withdraw from where they are deployed with the risk of dispersing on a 5+ if there is no enemy within 12 inches and line of sight or 4+ if there is enemy within 12 inches and line of sight.


Terrain

Elephant Grass/Savanna (Indicated by clumps of long grass.  Covers whole areas)
  • Broken ground for foot.
  • Any foot movement faster than tactical movement adds +1 Shock.
  • Broken ground for wheeled movement.
  • Open ground for tracked movement.
  • Variable line of sight 6 + D6 inches
  • Tracked vehicles see over it but suffer Variable Line of sight restrictions seeing into it.
  • Light cover for foot
  • No cover for vehicles
Paddy Fields (Flooded)
  • The paddy field counts as open ground for cover and line of sight purposes and Heavy
  • Going terrain for both foot and vehicle movement.
  • Infantry units up against dikes gain hard cover.
  • Vehicles treat dikes as solid obstacles.
  • Vehicles crossing the dikes count any hits as weakest armour.
Village Huts
  • Huts are treated as buildings but only provide light cover and are destroyed by any hit from HE rounds.
  • Armoured vehicles can drive through and destroy them without any effect to the vehicle.
Woods
  • Broken ground for foot movement.
  • Vehicles treat as Heavy Going.
  • Wheeled and partially tracked vehicles may not move in Heavy Going.
  • Variable Line of sight is 6 + D6 inches.
  • Light cover

Grass on the mat is treated as Light Cover if stationary and Open if moving.


Key Details Explained
Multiple Phases
Any time a player rolled 2 sixes or more for consecutive phases the subsequent roll was made with one less dice.
e.g. Player 1 rolls 5 dice 6,6,5,2,1.
Next roll they roll 4 dice 6,6,3,1.
Next roll they roll 5,2,1.
It is now Player 2 turn.

Patrol Markers
Red for NVA.  Blue for U.S

Jump Off Points
Tunnel Entrances for NVA

Coloured Smoke and HUEY for U.S

Leaders
White Bases - Senior/Junior Leaders
Grey Bases - Team Leaders

Army Lists and Support
NB: Each opponent was unaware of the others support choices for the game.

NVA 1967
Morale - 9
12pts support
Pre-Game Barrage
Local Knowledge
12.5mm HMG
MMG in Bunker


U.S Army 1967
Morale - 8
4pts support
M60 with 2 crew
CoC Dice


The Game 

Table Layout.  
Elephant grass indicated on the right.  
NVA will start their patrol phase from bottom of picture with
the U.S evacuation zone indicated by the Huey at top.


View from U.S Patrol edge and evacuation zone.


End of the Patrol Phase.
Patrol ended up squaring off across the table.
NVA Markers in Red.

U.S Jump of Points (JOP).
One in each Wooded area near the evacuation point.
Third JOP marked by the Huey.

NVA Jump off Points marked by tunnels.
Located in the Woods on the left flank, against the dike in the
Paddy field and on the right flank in the elephant grass.


NVA use Local Knowledge to advance JOP to Woods near
the Village hut at right of screen placing it in a position that 
threatens  the U.S position.
They deploy a squad from this JOP on overwatch.

Concerned that with the NVA employing a Pre-Game Barrage
the U.S fearing they will be overun deploy a squad into the
Woods in the Centre on overwatch.


View of the first NVA Squad.
A second NVA squad deploys on the right flank and 
begins moving through the Elephant Grass.

The U.S deploy a second squad to protect the evacuation zone.

The NVA continue their advance on the right flank hoping 
to pressure both sides of the evacuation zone.

The third NVA squad deploys and makes it's way
through the village.

The NVA 12.7mm DShK and 2iC deploy placing the
DShK on overwatch the secure the NVA left flank.


The NVA third squad continues to move through the village.


With the left flank covered by the DShK and newly deploy
surprise Bunker the NVA first squad starts to switch it's
focus of attack to the open right flank (and U.S JOP).

This proves to be fatal as the U.S cease the opportunity to
deploy their third squad in the central woods and open fire.
With a subsequent phase as well their second round of fire
brasses up the NVA squad who are now suppressed.
(NB: This is a different result contained in the
CoC Cold War Rules)
The NVA first squad advances towards the Central Woods.

The U.S Squad assaults the suppressed NVA squad and seeks
cover in the woods as the first NVA squad approaches.
This breaks the NVA squad forcing a morale test.
The NVA second squad continues to advance
through the elephant grass.

Whilst further pressure is added to the centre by the NVA.

The effects of the NVA 12.7mm are starting to add up as the
U.S seek the cover of the woods.

The NVA have now focused all of their attack on their
right flank in an attempt to overrun the U.S squad
in the woods.

This allows the U.S to move it's second squad in a flanking
manoeuvre against the NVA bunker which they assault and
destroy reducing the NVA morale. With the NVA JOP also
now threatened the NVA must move fast to avoid defeat.

The remaining NVA forces pour fire into the U.S squad on
their right causing several morale tests and reducing the
U.S morale to 3.  With their own morale at 1 they attempt
to leave the battlefield as quickly as possible to win
the day. With limited activation dice however they are unable
to do so before the U.S take their JOP and bring
the NVA morale to zero causing them to break.


A win to the U.S who manage to keep the evacuation zone intact all be it at a cost.

Another enjoyable and successful Chain of Command Cold War play test.

The current Vietnam mod for Chain of Command, Chain of Command - DMZ
can be downloaded here.

Happy to hear any comments or questions.

Cheers

Saturday, 22 July 2017

Que Sera Sera

A Chain Of Command - DMZ After Action Report


The following is an After Action Report from a game played on 18 July 2017.

This post has been named after a song by Lance-Corporal Norman Rowe Royal Australian Armoured Corps 3rd Cavalry Regiment.
 

Normie Rowe Que Sera Sera

Game
ANZACs vs Main Force VC  (1966)
Secure the Village.
Scenario 6 - Attack on an Objective.
Players could win via the scenarios main objectives or via the alternate objectives.

This game was based on 'The Great Rice Hunt" scenario from Too Fat Lardies Charlie Don't Surf.
The scenario is a village sweep action and uses the additional objectives listed in the
There is more than one way to skin a Tiger article I wrote earlier.  I feel that adding these additional objectives to your NAM games adds another level.


Terrain
"The Great Rice Hunt" was used  as the basis for the terrain in the game.


The river was left off of the table however the Rice Paddies were treated as flooded.
The majority of the table was knee height grass with this being treated as light cover when stationary but open when engaged whilst moving.
The wooded areas were treated as 'Primary Jungle' with a variable line of sight of d6 + 6 inches and heavy cover.
No vehicle movement was permitted in the Wooded areas unless via a road or through the Rice Paddies.
Rice Paddy bunds were treated as heavy cover.
The small clump of trees  in the middle of the table near the village was impassable and block line of sight.
Buildings were light cover but would be destroyed if hit by HE.

A view of the table below.


All is quiet in the village.


The Forces
ANZACs (1966)
Morale - 10
Attacking
5pts of support.


Support taken - M113 0.50cal Mounted with Jnr Leader.


Main Force VC (1966)
Morale - 9
Defending
3pts of support

Support taken - Barbed Wire, Local Knowledge.


The Patrol Phase


 The ANZACs (blue markers) started the Patrol phase rolling for two free moves.  There aim was to push as far forward as possible to restrict the area the VC could use for deployment in order to reduce the chances of being isolated and ambushed.


The VC (red markers) had control of the village and would attempt to outflank and isolate the ANZACs through the use of Local Knowledge.


Deploying Jump off Points (JOP)
The ANZAC jump off points (coloured smoke) lined the Jungle near their side of the table.  As the M113 would need to deploy near a road a safe option was taken with the jump off points being placed at the edge of the Jungle.


The VC jump of points (tunnel entrances) were spread across the table with the main jump off point (red counter) being in the village.


View of both sides jump off points.


The VC place their barbed wire and use Local Knowledge to move their jump off point forward to pressure the ANZAC right flank.


First Turn
The ANZACs have the first phase and roll 6,5,5,4,2.  They decide to follow the words of a wise man.


Next phase went to the VC.  They roll 2 sixes for another phase and decide on a bold move to bait the ANZACs by deploying a squad on their left flank on overwatch against the Paddy Bund (hard cover).


This move as early as it is turns out to be a game changer.  The Next phase the ANZACs manage a great roll of 3,3,3,2,1 and use the dice to deploy all three sections and the APC unloading everything they have on the VC squad.


The VC squad under fire waits patiently for the APC to arrive before deciding to fire back on over watch.


"Sloppy Joes" appearance brings the VC to life and the RPG on overwatch takes aim and fires at the M113 wildly missing the target.


Next Phase is the VC.  They rally shock attempting to fire again at the APC next phase.  (In the Cold War Supplement units stay on over watch until ordered differently or the end of the turn.  They may not shoot in their phase if they shot on over watch).  Knowing they won't be able to shoot in their phase they wait in hope that they will still be around to end the M113.


The gamble fails and all the ANZAC units open up again on the VC causing more casualties and shock.  The VC low on numbers and high on shock attempt to move into the cover of the jungle to avoid becoming pinned.  They roll low and just make it into the edge of the jungle but still in line of sight.

The ANZACs unload again this time with only 2 sections as the VC have managed to break line of sight to the third.  This is enough to kill the squad leader and suppress the VC squad causing several morale tests.


The VC looking to exact revenge deploy a detached RPG team via ambush (using a Chain of Command Dice) and fire at the APC killing the driver and placing 2 shock on the vehicle.  (As strange as it sounds this was very lucky for the ANZACs as they made 2 saves from 2 dice reducing the net hits to 2 avoiding completely blowing up).  Without it's driver it must spend 2 activated phases before it may move.  It is in a serious predicament.


The ANZACs retaliate finishing off the VC squad at the edge of the Jungle causing another Morale test.


The VC deploy the detached RPG team onto the table looking to finish the ANZAC APC.


There second shot is again on target and finishes the M113 once and for all.  The ANZACs take a 5pt morale hit as "Sloppy Joe" blows up in huge explosion that causes casualties on the nearby section.


The ANZACs look to move up towards the village.  They place the centre and right flank sections on over watch and move towards the rise on their left flank.


This forces the VC into action who deploy a squad on their right on over watch anticipating the ANZACs sending a unit to engage the threat.


The ANZACs continue up the ridge on their left and begin to advance their unit in the centre towards the village.


This proves too much of a target for the final VC squad who deploy in the jungle to the rear of the village and open fire on the ANZACs.  Little damage is done and the ANZACs return fire from their right flank from the unit on over watch killing the VC squad leader.  This reduces the VC morale.


The ANZAC section in the centre halt their advance and fire on the VC inflicting more casualties.


The VC deploy their Senior Leader to spark the VC squad in the jungle to the rear into action.  He rallies shock and orders the VC to fire again on the ANZACs on the centre causing a casualty and shock.
The ANZAC section of the right fires from overwatch wounding the VC Senior Leader reducing  the VC morale to below 3.


With the VC squad in the jungle shattered, morale below 3 and a squad isolated and flanked near the  rice paddy the VC player calls it quits.  In the spirit of the game we allow the VC to attempt to withdraw to fight another day.  Both VC units pass their rolls, avoiding dispersing and slip away into their tunnels.


The ANZACs secure the village and victory.


I hope you all enjoyed the report and happy to answer any questions.


Friday, 21 April 2017

There is more than one way to skin a Tiger

Further Victory Conditions to add to your Chain of Command - DMZ Scenarios


Download Chain of Command DMZ here http://carportgaming.blogspot.com.au/2017/03/letters-from-vietnam.html

The original NAM supplement has been focused on the conventional firefight aspect of the War. I had envisaged most of the Political style Victory conditions being incorporated into a campaign element. One thing I am always mindful of is that the Vietnam War featured a great deal of conventional firefights and wasn't just about finding rice caches. I am forever mindful though that a lot of players do enjoy the multiple victory paths that can be produced for games in this period.

Based on discussions I have had with Anibal Invictus and his superb recent play testing games http://mylardiesgames.blogspot.com.au/2017/04/dmz-vietnam-3-winning-hearts-and-souls.html
I have decided to add further rules to cover "Political Victory" style outcomes in Chain of Command - DMZ Scenarios.

When considering any rules additions to the NAM supplement I always work under the following guidelines:
  • Where possible the rules should utilise existing Chain of Command rules mechanisms.
  • They need to be as simple as possible in achieving the desired outcome.


The additional rules are as follows.


Secondary Victory Conditions
Free World Forces
Free World Forces may achieve an alternative Victory at the end of any phase/turn in which they currently have control of or have captured a total of at least 2 enemy Jump off Points and their current morale level is 4+.
They can also win scenarios under normal victory conditions.

NVA/VC
NVA and VC Forces may achieve an alternative Victory by reducing a Free World Forces Morale to 3 or Less and withdrawing all on table units from the table whilst their final morale remains above 0.
They can also win scenarios under normal victory conditions.

Withdrawing from the Table
In order to retire from the field a NVA/VC unit may leave via a friendly jump off point or any table edge provided no enemy units are within 12 inches and line of sight to the unit at the start of it's move.
Each unit leaving the game this way via a JOP or table edge will not return and will roll with the risk of dispersing on a 5+ if from a friendly JOP or 4+ if from any table edge.
If a unit disperses a roll is made against section wiped out on the morale table and immediately effects the players morale.
Snipers and immobile teams may withdraw from where they are deployed with the risk of dispersing on a 5+ if there is no enemy within 12 inches and line of sight or 4+ if there is enemy within 12 inches and line of sight.

NB: Victory can be achieved by a force via either method.  I do not place a differing scoring system to either victory type.

These rules can be used in conjunction with the Victory Conditions for Scenarios in the main Chain of Command rules offering alternatives to player victory as well as for a conversion method for Lardies excellent "Surfs Up" Charlie don't Surf supplement.


Secondary Victory Conditions design philosophy
Free World Forces
The Free World Forces Victory conditions allow for an aggressive player to press the opposition Jump Off Points with the risk however of becoming preoccupied with holding them down and becoming isolated.

NVA/VC
These victory conditions are designed to reflect NVA/VC hit and run tactics that were employed at times.  This allows the NVA/VC player the opportunity to hit a Free World Force hard, inflicting casualties then Melt away from the conflict.  Advantages are given to the player exiting the table via Jump off Points rather then table edges. The dispersing rule is in place to balance this victory condition forcing the NVA/VC player to have their own Morale remaining or risk a Morale break and loss themselves.  The dispersal rule also reflects units scattering and forces being caught or lost.

NVA/VC Jump Off Points can be used to represent anything from Rice/Weapons caches, tunnel entrances areas of operations etc in line with a lot of the "Surfs Up" objectives.


Converting Surfs Up and other Charlie Don't Surf Scenarios to Chain of Command - DMZ
I will use the first Scenario from Surfs Up "The Great Rice Hunt" to give you an example of how these scenarios can be converted to CoC-DMZ.

The first thing to do is consider the Primary Objectives for each side in the scenario and determine which Scenario from the Main Chain of Command Rules this represents.


The Great Rice Hunt
US - Primary Objective: Secure the hamlet and destroy any Viet Cong forces found.
VC - Primary Objective: Maintain the food caches in the hamlet.


These Objectives best suit SCENARIO SIX: ATTACK ON AN OBJECTIVE.


Now apply the Secondary Victory Conditions from Chain of Command - DMZ based on the Secondary Objectives from Surfs Up.

US - Secondary Objective: Identify enemy rice caches and secure them ready for collection.
VC - Secondary Objective: Inflict 30% casualties on the enemy force.

Terrain is per the Scenario Diagram from Surfs Up.

This produces the following Victory Conditions:
US can win by Capturing the Main VC Jump Off Point in the Village (Securing the Hamlet) or Controlling/Capturing 2 enemy Jump Off Points with Morale of at least 4+ at the end of their phase/turn. (Capturing rice caches)

The VC can win by holding the Village Hamlet Jump Off Point and Breaking the Free World Force (Maintaing the Food Cache in the Hamlet) or reducing the Free World Force Morale to 3 or less and withdrawing all on table forces from the table (Inflicting casualties on the enemy and withdrawing).

Hopefully this adds another element to your Chain of Command gaming experiences and adds life to your Charlie Don't Surf Scenarios.

Once again any further suggestions or feedback are always welcomed.